How to Diagnose Common Electric Motor Problems
How to Diagnose Common Motor Faults
Introduction
Electric motors are used across various industries, from automotive systems and home appliances to manufacturing and robotics. When a motor fails, diagnosing the root cause accurately can save time, reduce downtime, and avoid unnecessary replacements.
This guide walks you through the most common electric motor issues and how to identify them effectively using both visual inspection and diagnostic tools.
1. Signs Your Motor Has a Problem
Before diving into testing, it's essential to recognize early warning signs:
- Unusual noises (grinding, humming, clicking)
- Overheating
- Motor won’t start
- Reduced performance or torque
- Tripped circuit breakers or blown fuses
- Excessive vibration
- Burnt smell or smoke
If you notice any of these symptoms, it’s time to investigate further.
2. Safety First
Before beginning any diagnostics:
- Disconnect power supply completely.
- Discharge capacitors if present.
- Use insulated tools.
- Wear proper personal protective equipment (PPE).
Never attempt testing on a live motor unless properly trained and equipped.
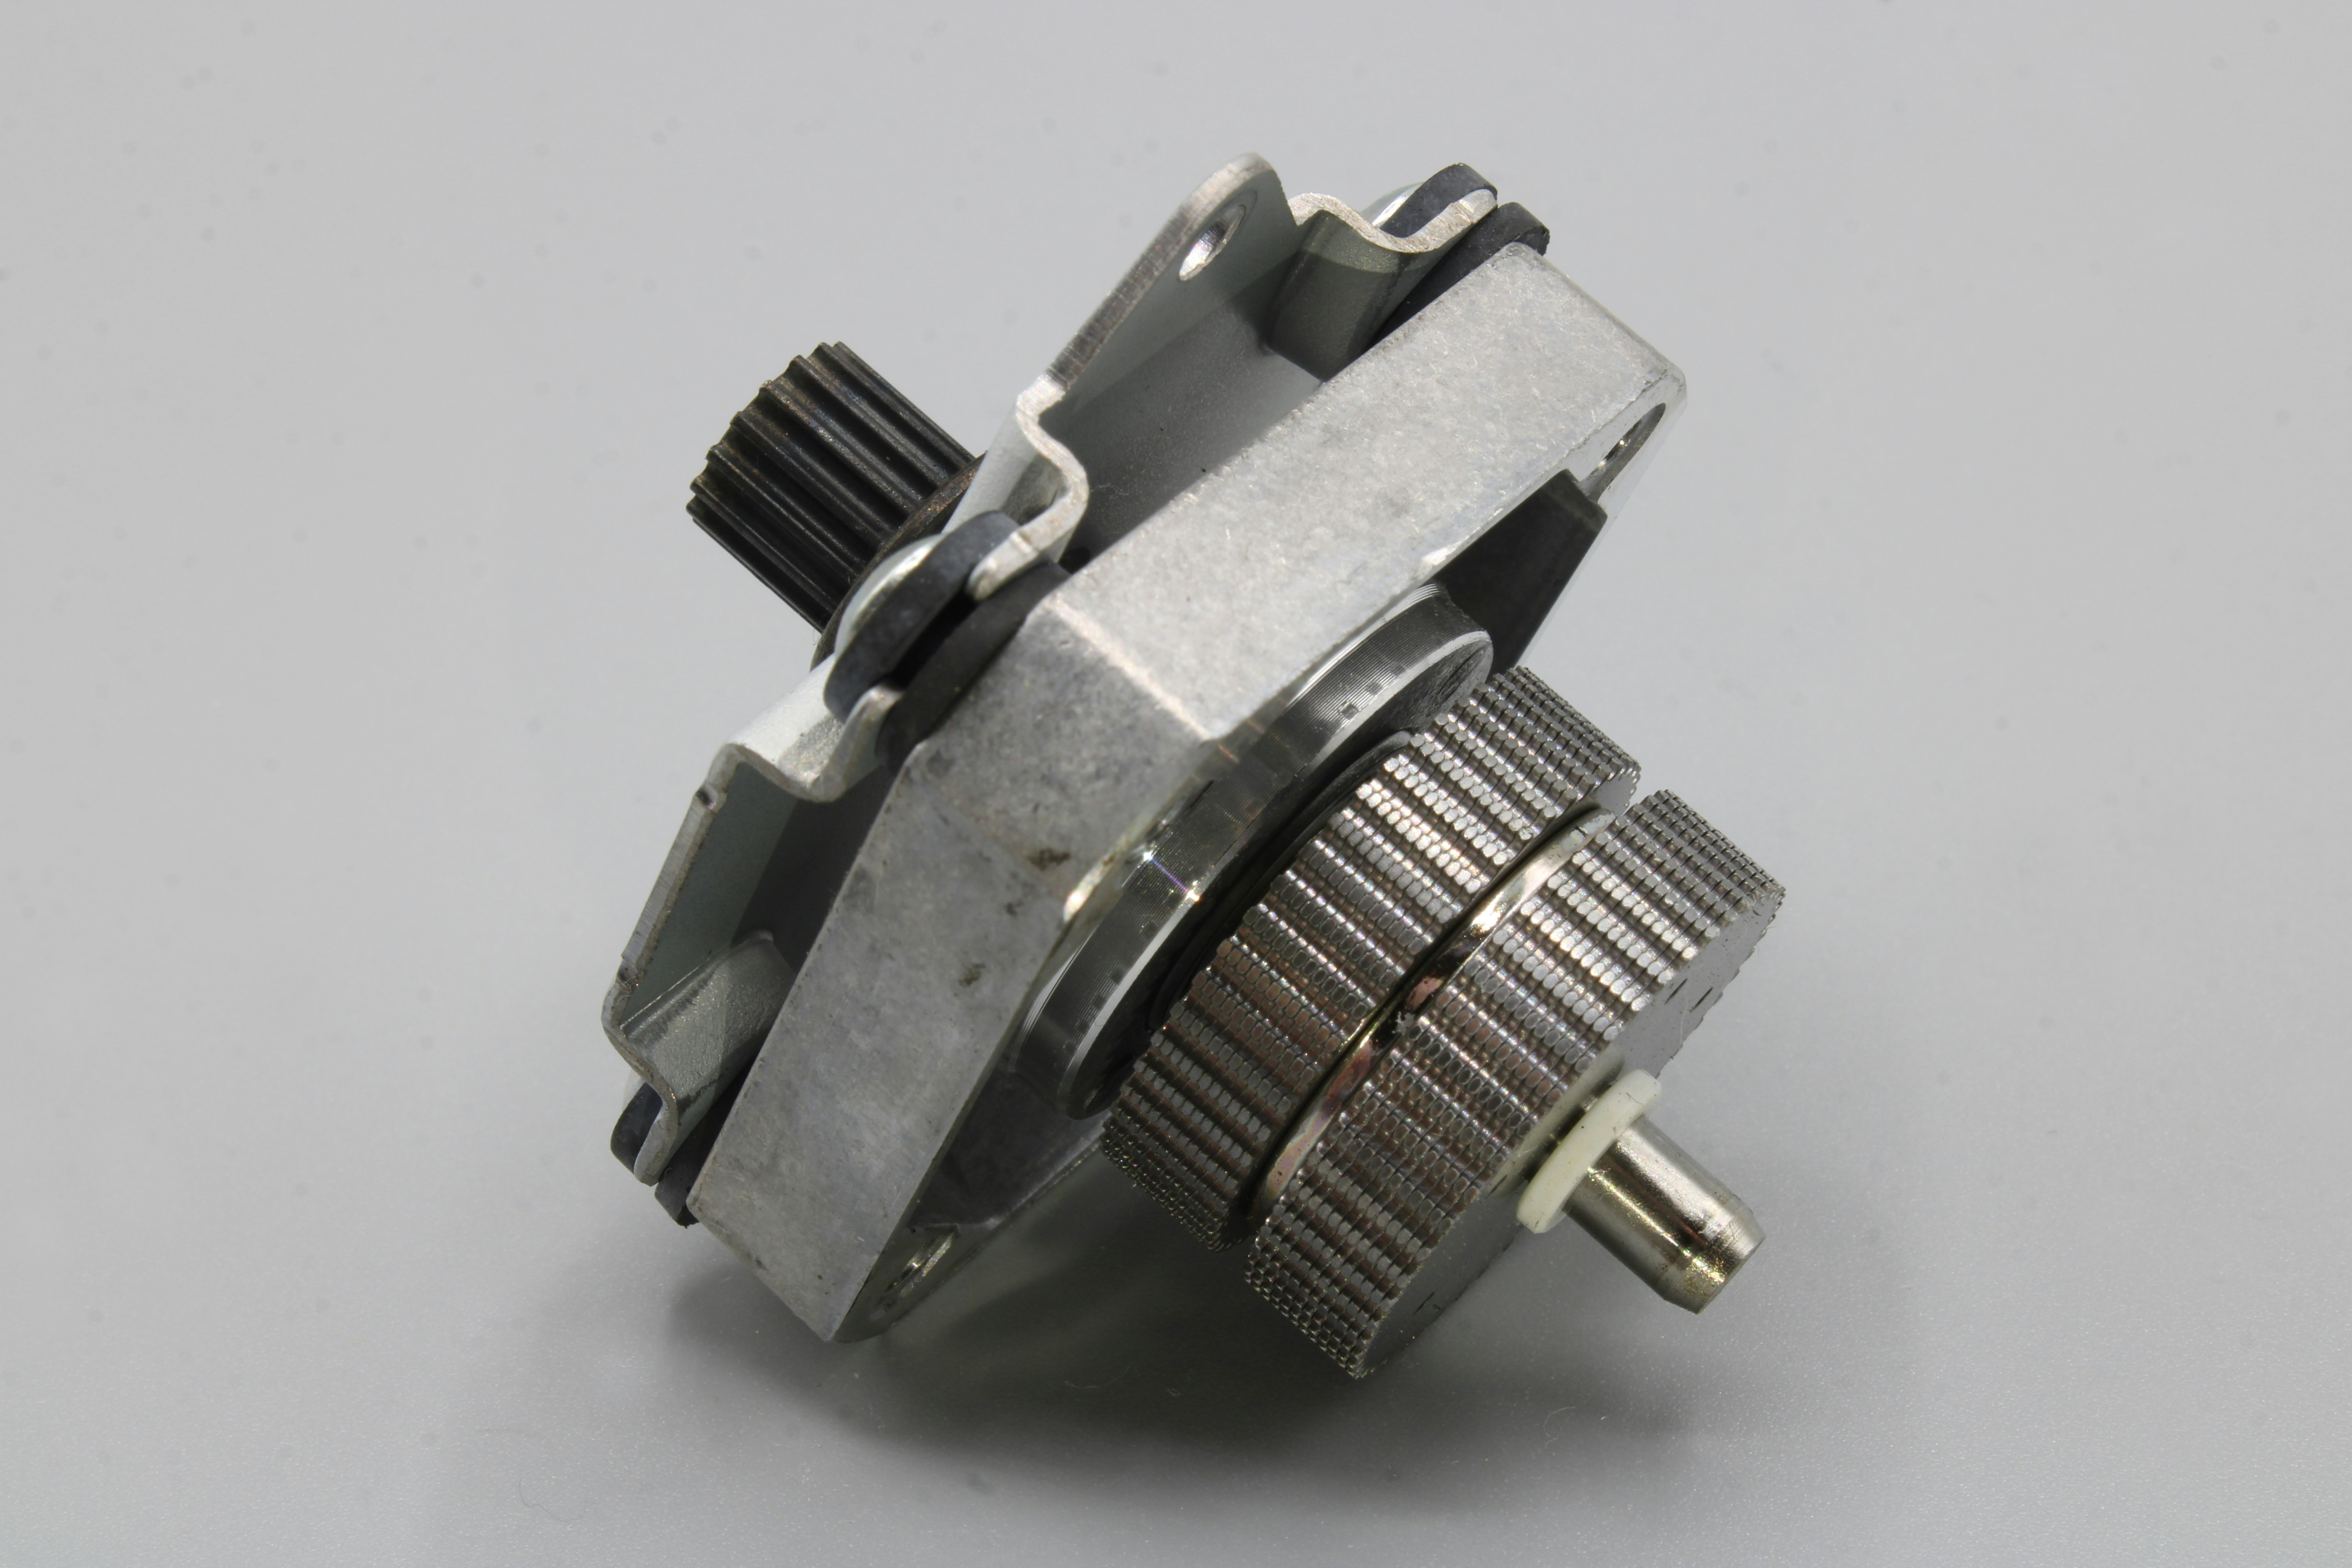
3. Visual Inspection
A visual inspection can reveal a lot:
- Burn marks or discoloration on windings
- Loose or corroded terminals
- Broken mounting brackets
- Damaged wiring or insulation
- Dust, dirt, or debris inside the casing
If visual inspection doesn’t reveal the fault, proceed to electrical and mechanical testing.
4. Electrical Testing
Use a digital multimeter (DMM) or megohmmeter to perform the following tests:
a. Continuity Test
Check if the motor windings are continuous.
- Set DMM to continuity mode.
- Probe between phase terminals (e.g., U-V, V-W).
- A beep or low resistance means continuity is OK.
b. Insulation Resistance Test
Used to detect short circuits to ground.
- Set megohmmeter to 500V or 1000V.
- Test between each winding and motor frame.
- Values below 1 MΩ typically indicate insulation breakdown.
c. Resistance Balance Test
Unbalanced winding resistance can indicate shorted coils.
- Measure resistance between phases.
- All readings should be nearly equal (within 10%).
d. Capacitor Test (if applicable)
For single-phase motors with capacitors:
- Use capacitance setting on multimeter.
- Compare reading with rated capacitor value.
5. Mechanical Testing
Even if electrical components test fine, mechanical failures may exist.
a. Bearing Check
- Rotate the shaft manually.
- Listen for grinding or feel for roughness.
- Replace bearings if noisy or stuck.
b. Rotor Check
- Check for shaft misalignment or wobble .
- Verify there’s no rubbing or friction against the stator.
c. Cooling Fan & Vents
- Ensure cooling fans are not broken.
- Clean dust from air vents for proper ventilation.
6. Motor Startup Test
If electrical and mechanical inspections are passed, attempt a controlled power-on test:
- Use soft start controller or test bench setup.
- Listen for abnormal sounds.
- Check for smooth startup, correct direction, and stable current draw.
Monitor motor temperature and voltage for any anomalies.
7. Common Faults and Causes
| Fault Type | Possible Causes |
|---|---|
| Motor won’t start | Faulty capacitor, open circuit, overload |
| Overheating | Overload, dirty fan, high ambient temp |
| Excessive vibration | Worn bearings, misalignment, rotor imbalance |
| Tripped breaker | Short circuit, ground fault, locked rotor |
| Low torque | Low voltage, worn brushes, winding issues |
8. When to Replace vs. Repair
Sometimes replacing a motor is more cost-effective than repairing.
Consider replacement if:
- Repair cost exceeds 50% of new motor.
- Insulation is burnt beyond repair.
- Core or windings are severely damaged.
- Motor is obsolete or inefficient.
Conclusion
Proper motor diagnostics involve a combination of observation, measurement, and mechanical assessment. With the right tools and methodical testing, you can pinpoint issues before they escalate, reduce downtime, and keep your systems running efficiently.
If you're unsure or working with high-voltage systems, always consult a professional technician.